How to configure IIS Restricted Access for OWA
Before You Start
Overview
As the administrator, I need to restrict access for OWA (Outlook Web Access) or other site/URL based on the IIS server on port 443.
Windows Server provides IP Address and Domain Restrictions feature to define and manage rules that allow or deny access to content for a specific IP address, a range of IP addresses, or a domain name or names. This feature may be combined with Acreto Ecosystem to restrict access only for users/devices connected through Acreto.
Pre-requisite
To complete this procedure those elements may be required:
- Windows Server environment
- Working IIS server with resources that access needs to be restricted
- Acreto Ecosystem
How to
IP Address and Domain Restrictions feature enable
- Open the Server Manager by selecting Start > Administrative Tools > Server Manager.
- On the next screen, select Role-based or feature-based, then select your server and click Next.
- Click the Add Role Services link to add the required role.
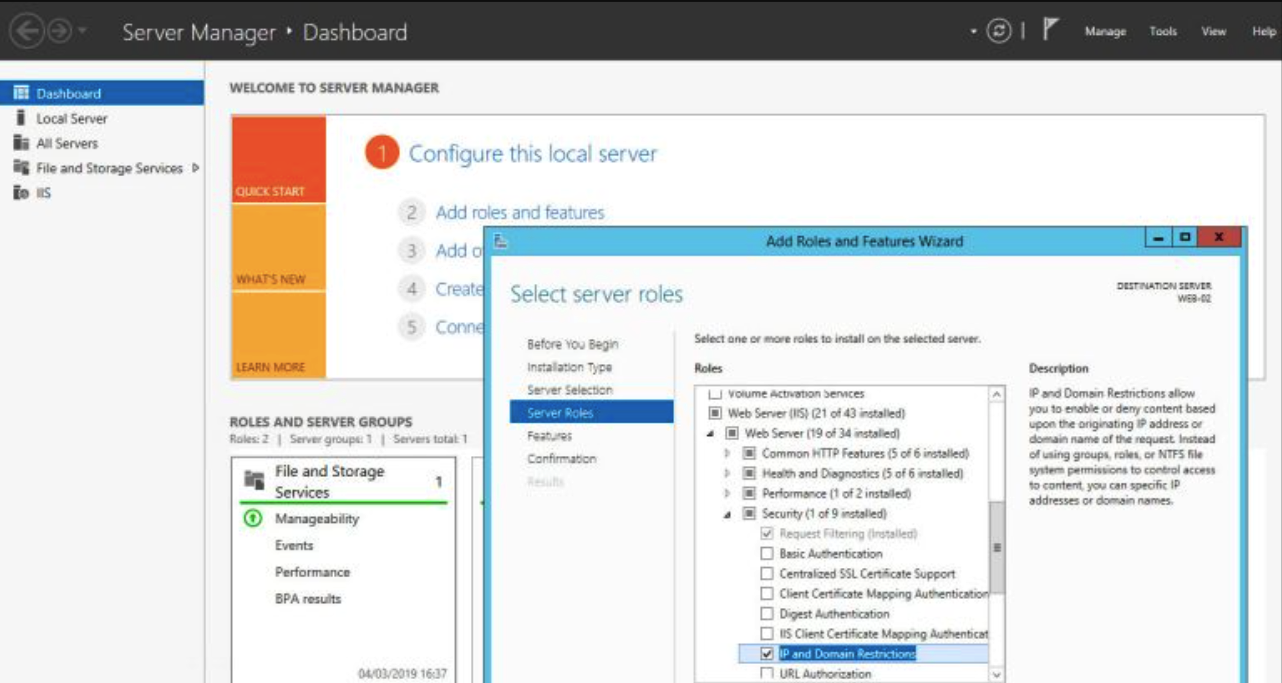
- From the Select Role Services screen, navigate to Web Server (IIS) > Web Server > Security.
- Check the IP and Domain Restrictions check box and click Next to continue.
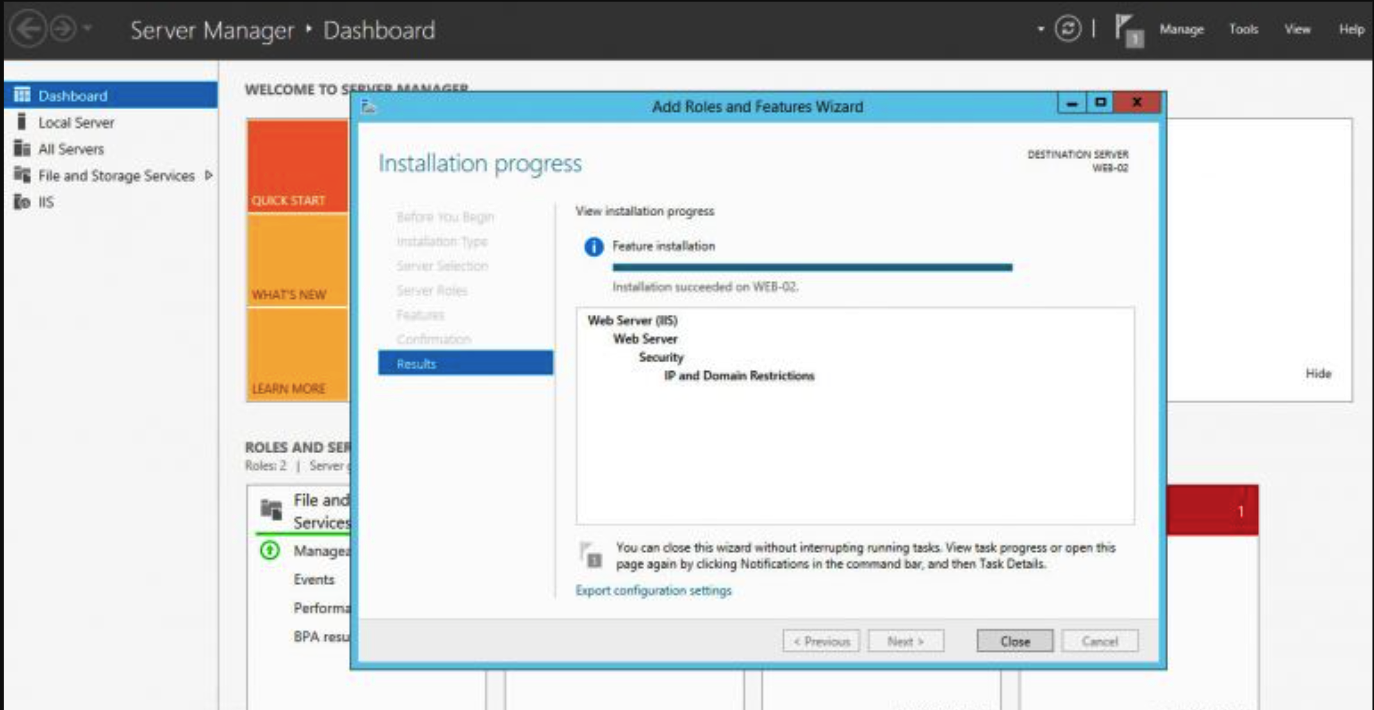
- From the Confirm Installation Selections screen, click Install to add the IP and Domain Restrictions role service.
Configuring the Behavior for IIS when Allowing specific IP Addresses
To configure the behavior for allowing specific IP addresses, use the following steps:
- Log in as an administrator on your Windows Server 2012 computer.
- Open the Internet Information Services (IIS) Manager.
- Select the root folder or the website
- Select Add Allow Entry from the Action sidebar in the right.
- Add all the local subnet that will be allowed to access the site.
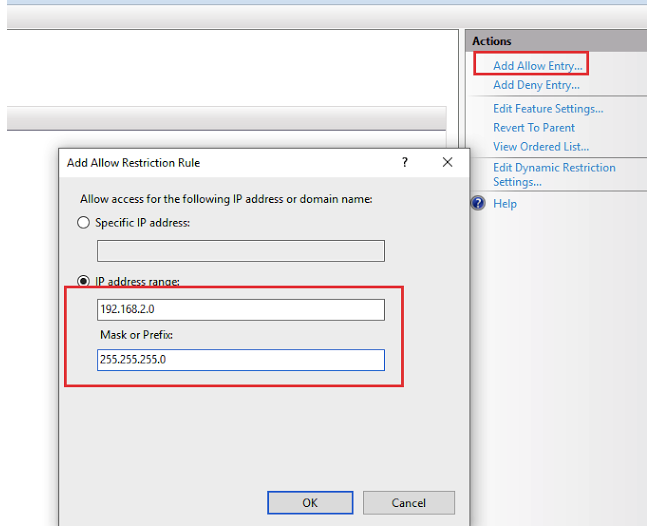
- Click OK
Configuring the Behavior for IIS when Denying IP Addresses
To configure the behavior that IIS will use when denying IP addresses, use the following steps:
- Log in as an administrator on your Windows Server 2012 computer.
- Open the Internet Information Services (IIS) Manager.
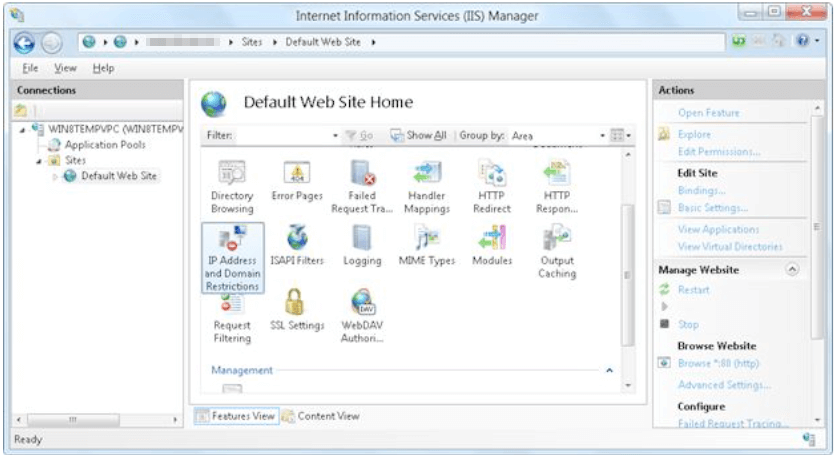
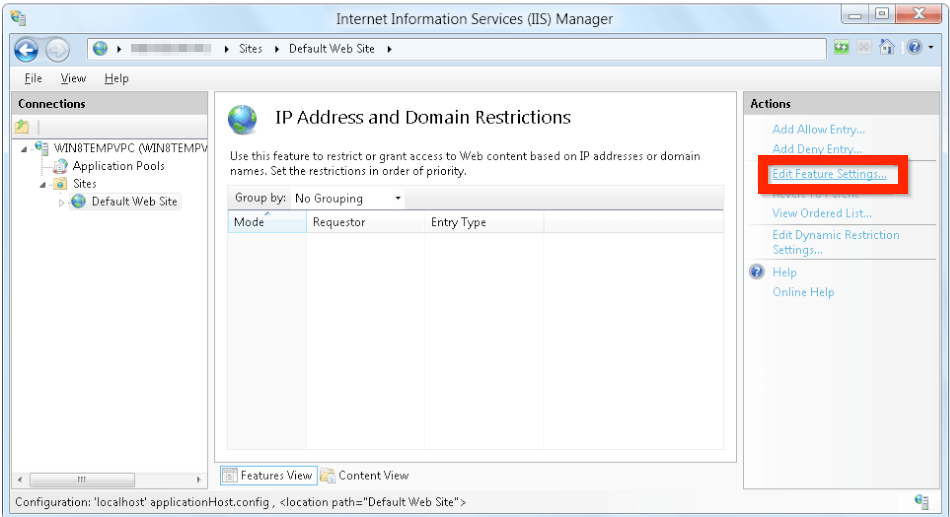
- Select the website, or folder path in the Connections pane, and then double-click IP Address and Domain Restrictions in the list of features.
- Click Edit Feature Settings in the Actions pane.
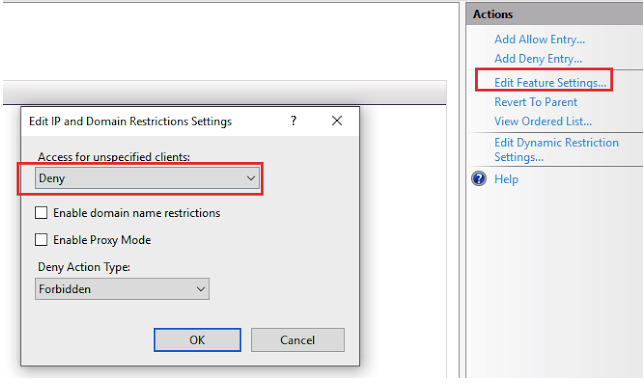
- When the Edit IP and Domain Restriction Settings dialog box appears, provide the following values:
- Action for unspecified clients: Deny
- Deny Action type: Forbidden
References: https://docs.microsoft.com/…#configuring-iis-to-deny-access-based-on-http-requests
Summary
By following these steps, restrictive access to OWA can be achieved. This solution allows access only to specific internal users while blocking it for everybody else.