Active Directory - Windows Server
Overview
In this article, you’ll learn how to integrate your Windows Server Active Directory with an Acreto Ecosystem. This process involves the following steps:
- Configuration of Windows Server Active Directory
- Configuration of Acreto Ecosystem
- Providing an Onboarding Portal link to users
The Purpose of Active Directory Integration
An Active Directory integration allows your Acreto Ecosystem to utilize the user credentials stored in your Active Directory to connect to the Ecosystem using Acreto TLS Client.
The LDAPS protocol is used to establish communication between the Acreto Ecosystem and the Active Directory.
Tip
Administrators integrate with a LDAP (Lightweight Directory Access Protocol) to streamline the user login process and to automate administrative tasks, such as creating users and assigning roles. An LDAP integration allows the system to use it’s existing LDAP server as the master source of user data.
Typically, an AD integration is also part of a single sign-on implementation.
How Does it Work?
The integration uses the LDAP service account credentials to retrieve the user’s distinguished name (DN) from the LDAP server. Given the user’s DN value, the integration then reconnects with LDAP using the user’s DN and password.
In the diagram below, you can see the communication flow between some Employee (trying to connect to the Ecosystem using Acreto TLS Client), Acreto Ecosystem and AD.
%%{init:{"fontFamily":"monospace", "sequence":{"showSequenceNumbers":true}}}%%
sequenceDiagram
    Employee->>Ecosystem:Here is my password.
    Ecosystem->>Azure AD: is Employee's password.
    Azure AD->>Ecosystem: Sure, let the Employee in!
    Ecosystem->>Employee: Welcome!
Info
The integration never stores LDAP passwords on the Ecosystem.
The integration uses a read-only connection that never writes to the Active Directory. The integration only queries for information.
Prerequisite
To complete this procedure, you should:
- Have an active and configured Ecosystem.
- Have an active Windows Server with installed Active Directory Domain Services.
- Have basic knowledge of LDAP protocol.
Configuration of Windows Server Active Directory
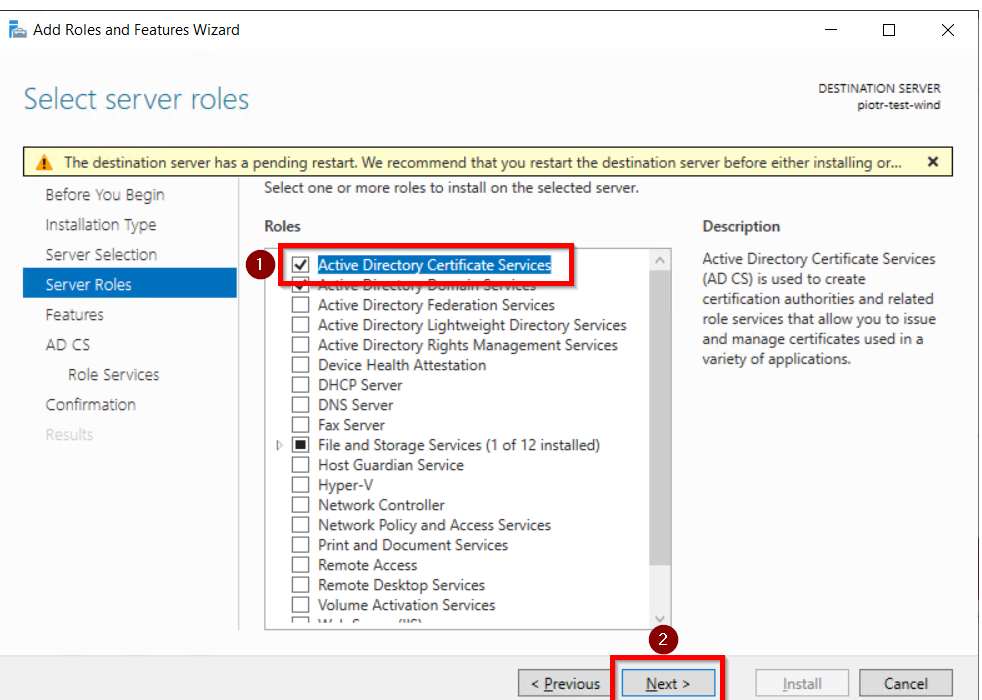
Install the “Active Directory Certificate Services” role through Server Manager roles.
- On your Windows Server Machine, click on Start –> Server Manager –> Add Roles and Features.
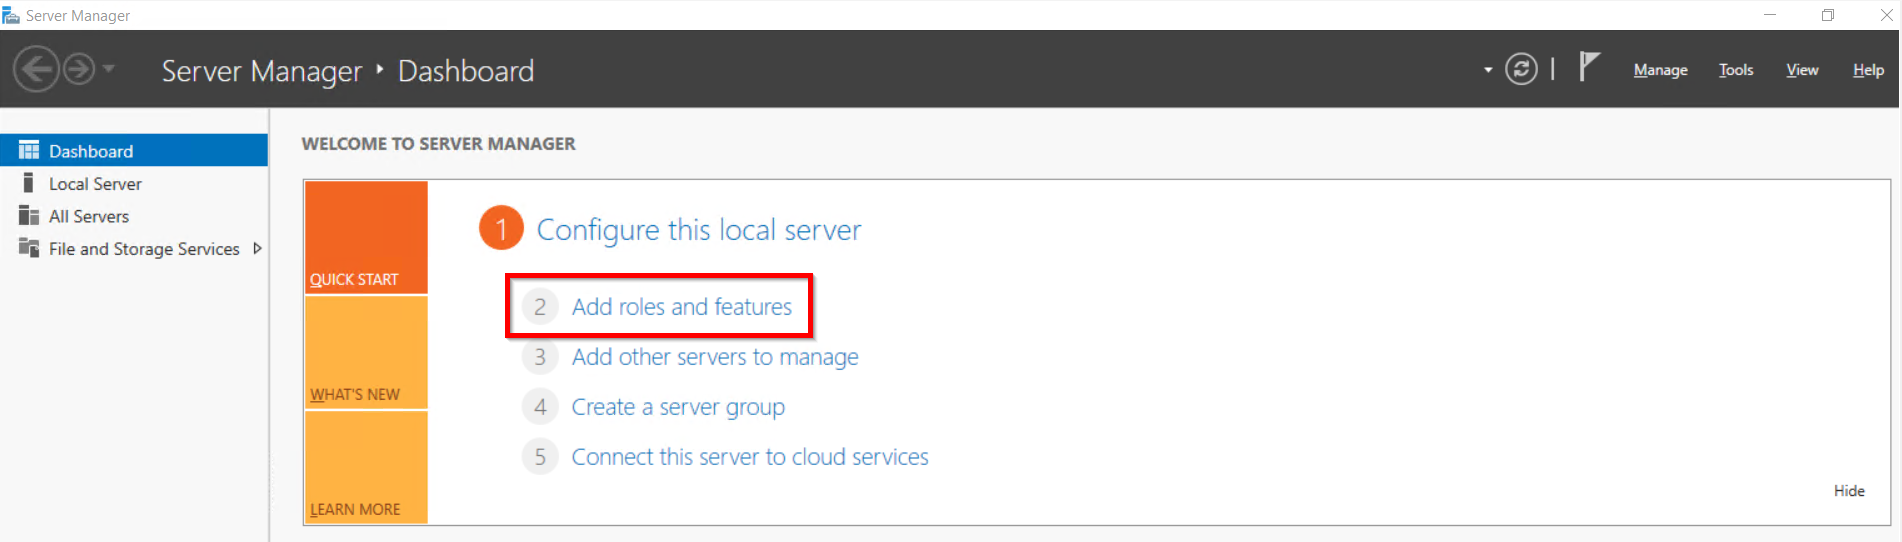
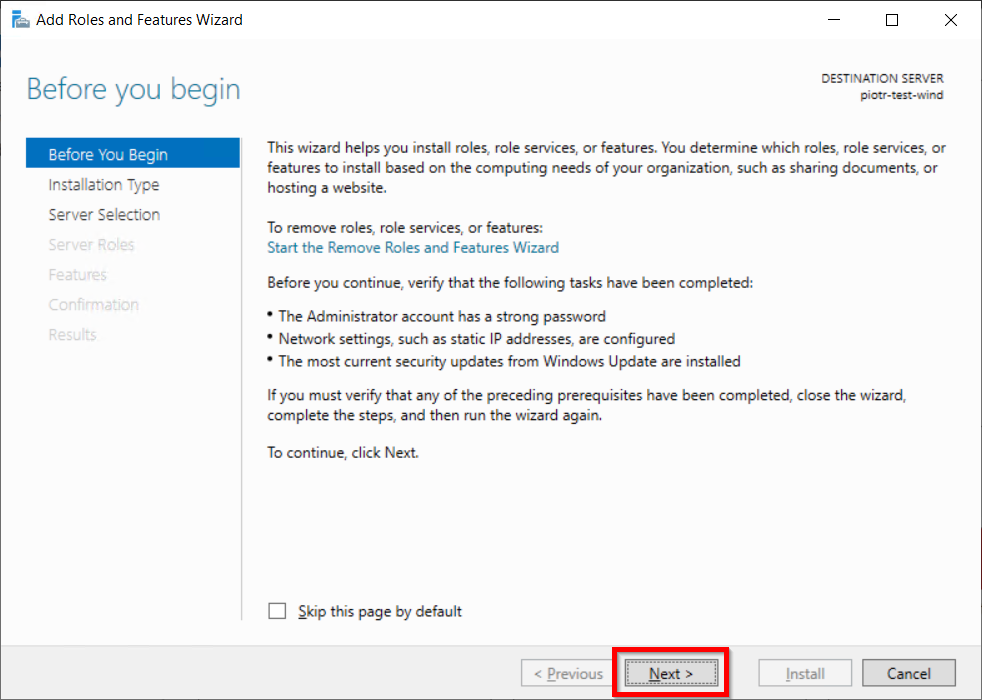
- After selecting Add Roles and Features Click on Next.
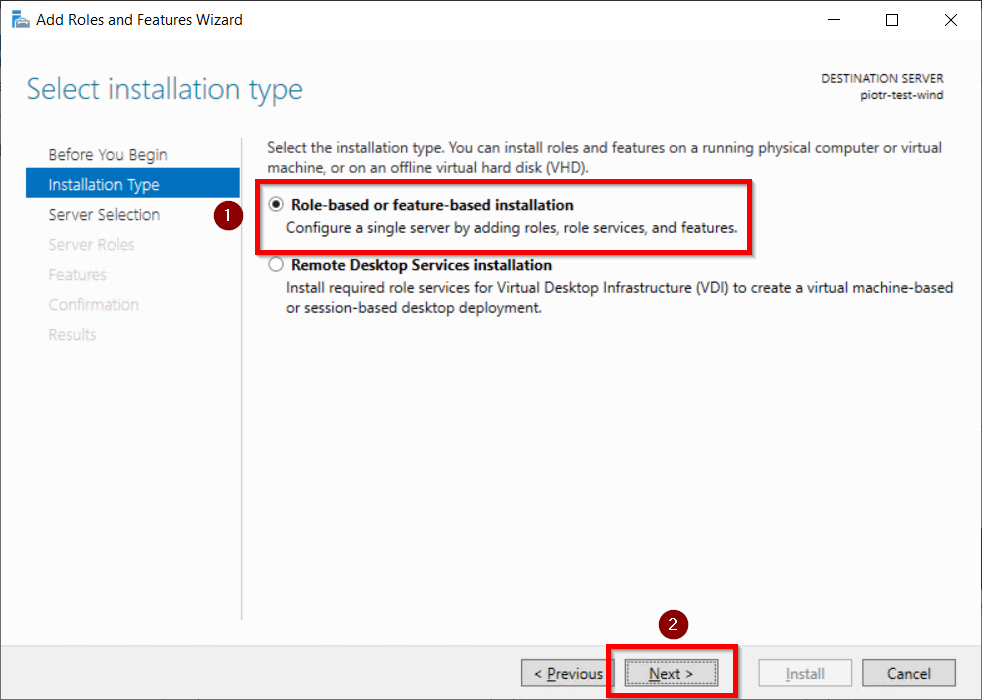
- Choose the Role-based or feature-based installation option and click on the Next button.
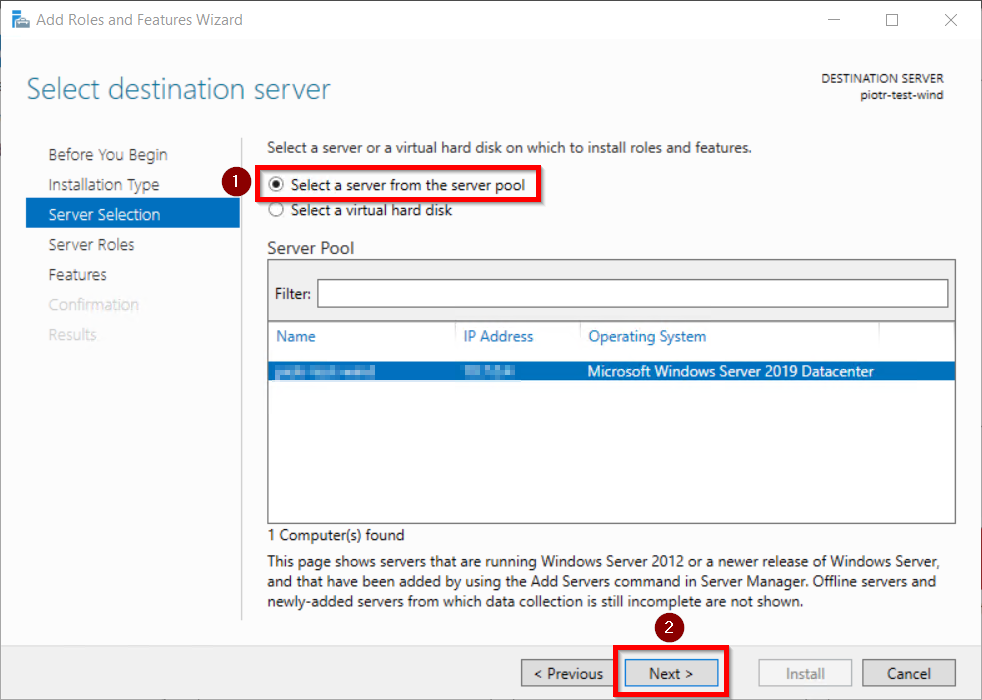
- Choose Select a server from the server pool option & Select LDAP server from the server pool and click on the Next button.
- Choose the Active Directory Certificate Services option from the list of roles and click on the Next button.
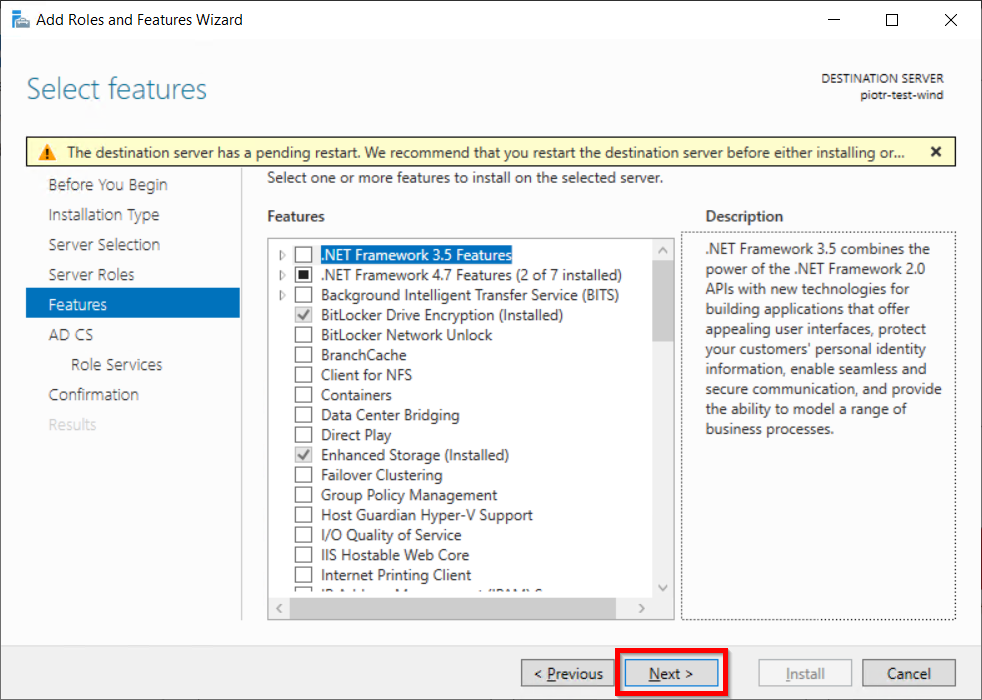
- Choose nothing from the list of features and click on Next button.
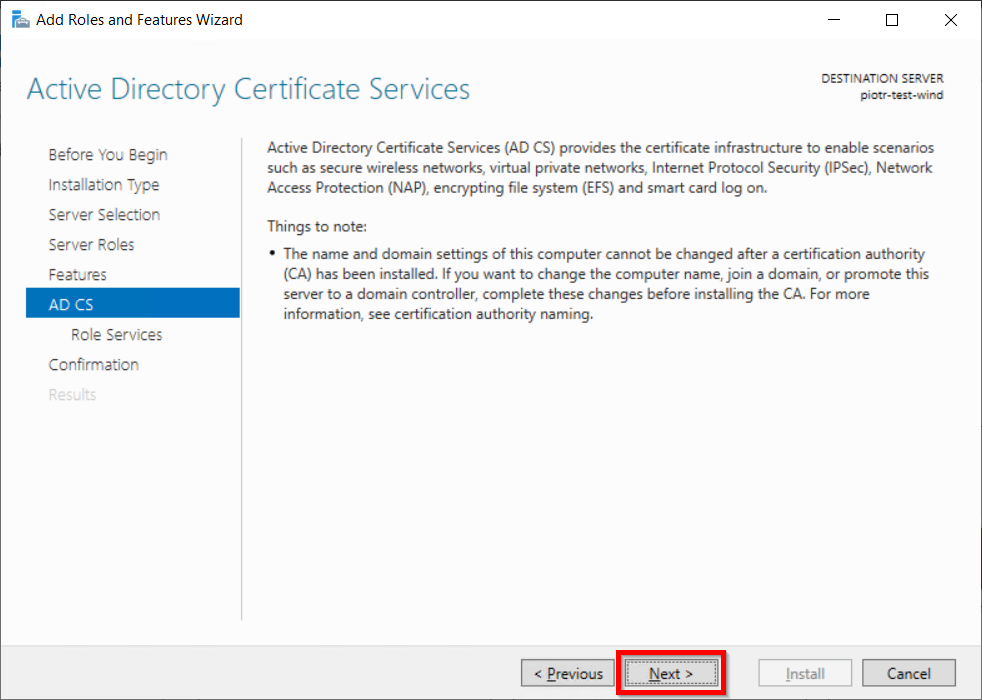
- In Active Directory Certificate Services (AD CS) choose nothing and Click on Next button.
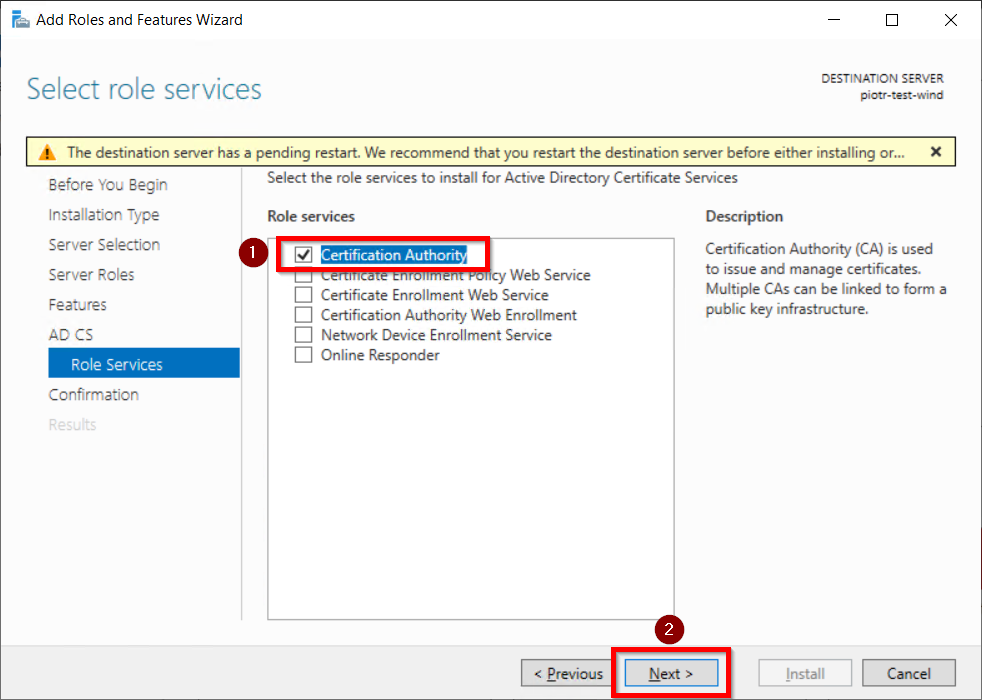
- Mark Certification Authority from the list of roles and Click on Next button.
- Click on Install button to confirm installation.
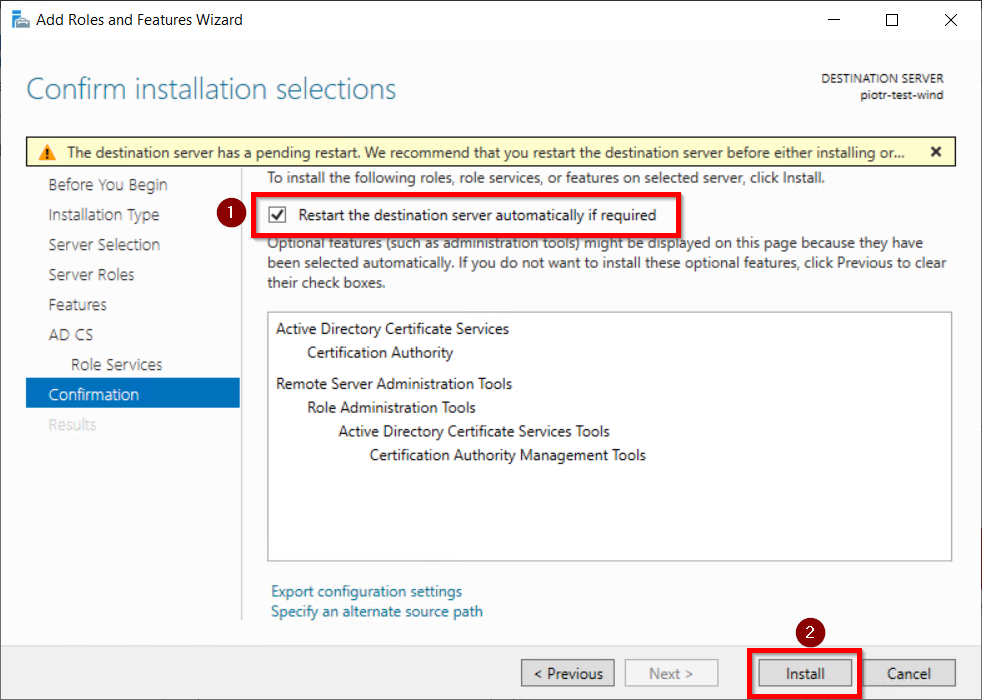
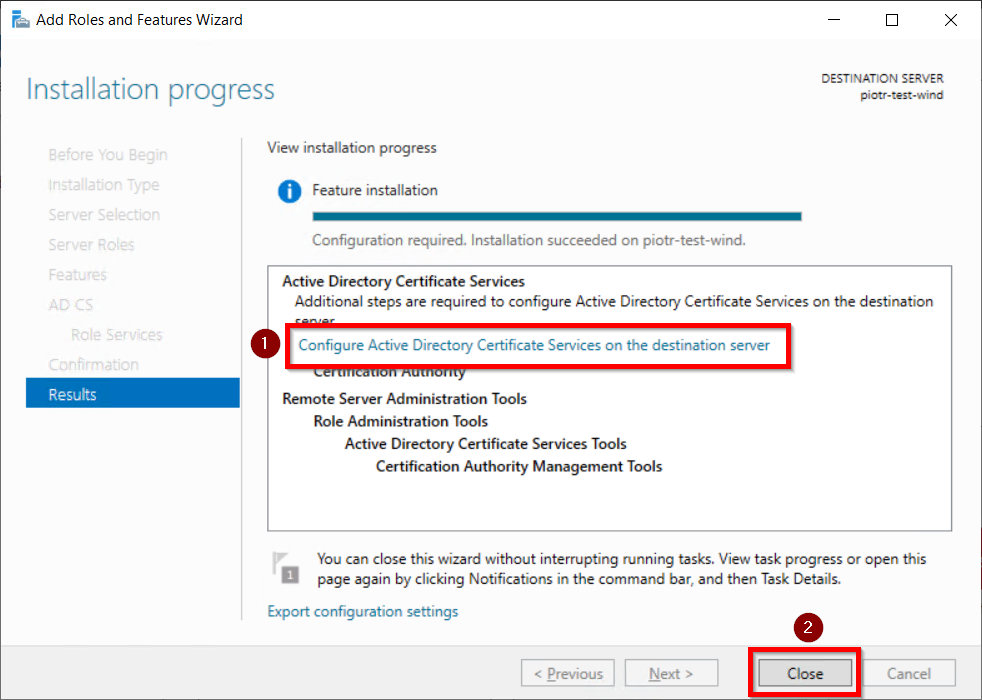
- Now, click on Configure Active Directory Certificate Services on Destination Server option and click on Close button.
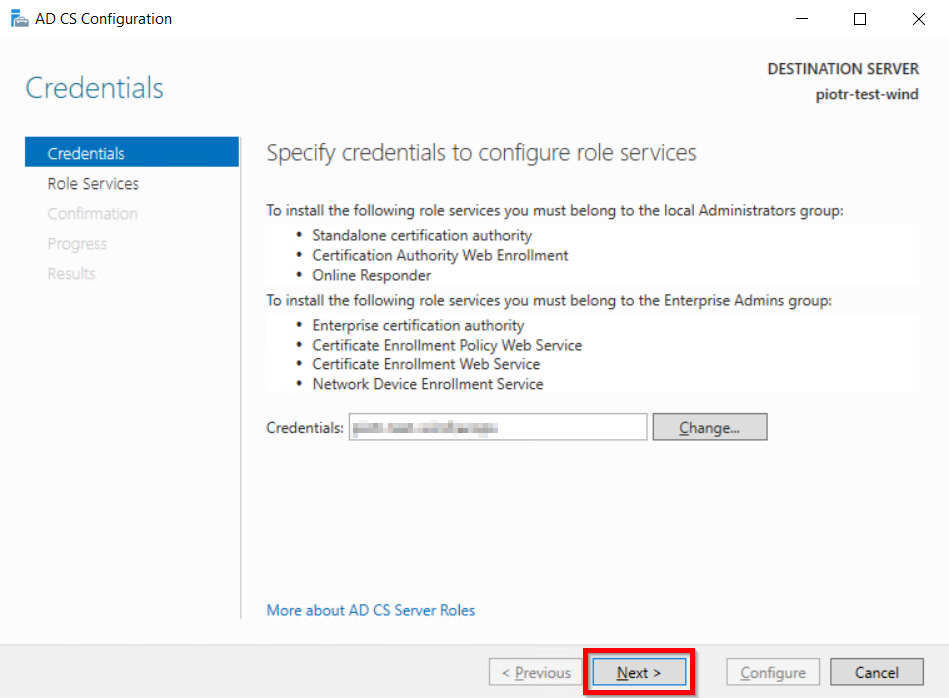
- We can use the currently logged on user to configure role services since it belongs to the local Administrators group. Click on Next button.
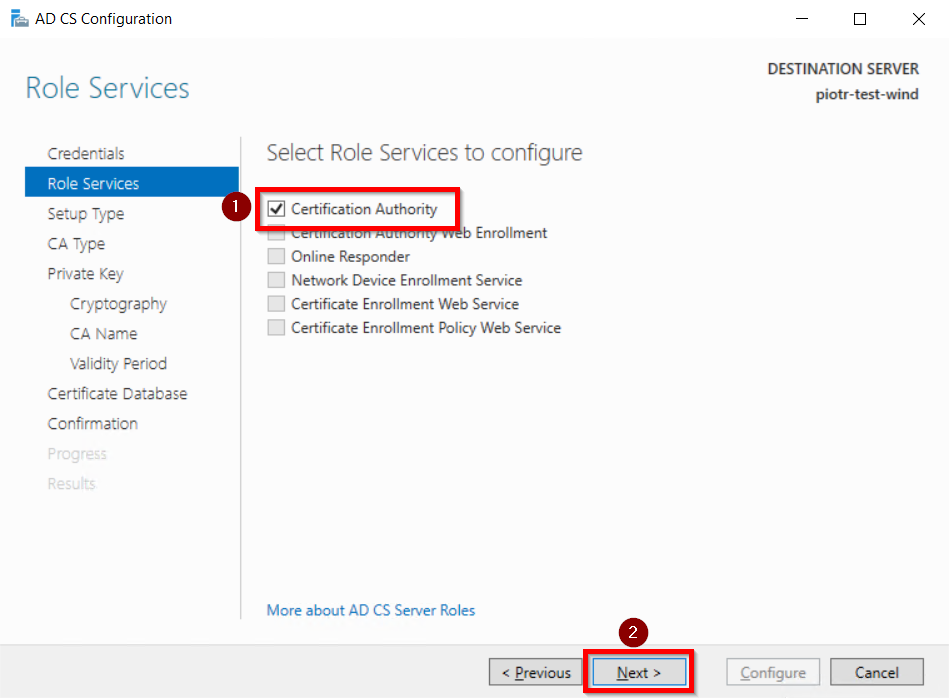
- Mark Certification Authority from the list of roles and Click on Next button.
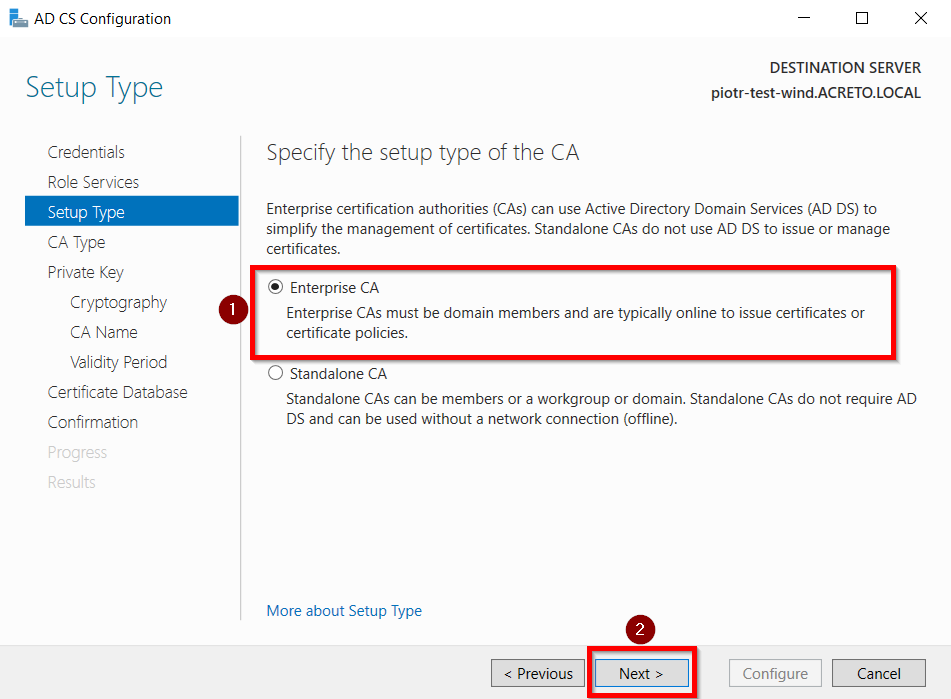
- Choose Enterprise CA option and Click on Next.
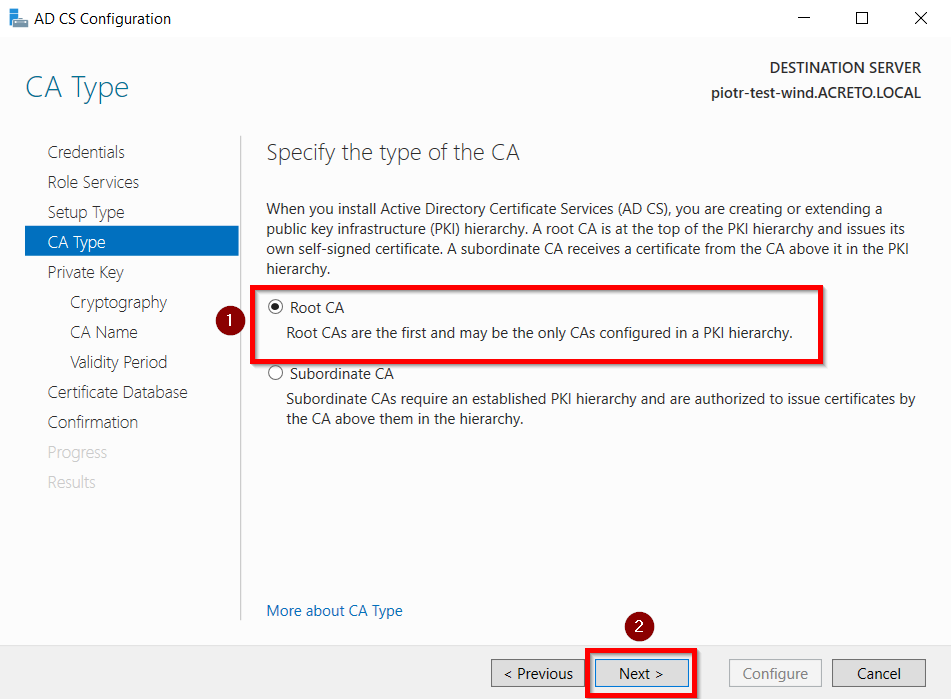
- Choose the Root CA option and Click on the Next button.
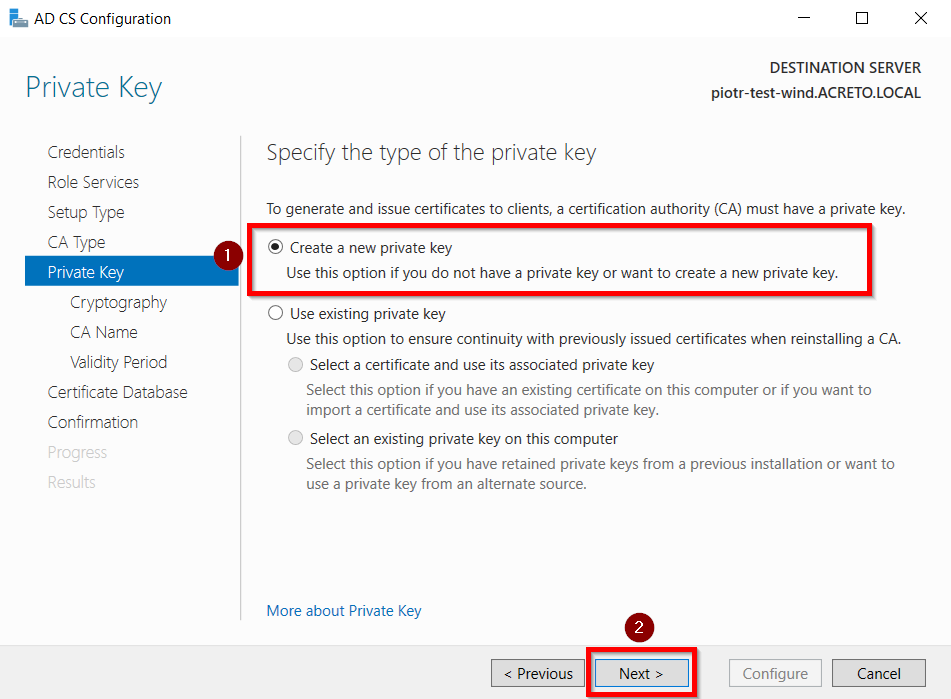
- Choose to Create a new private key option and click on the Next button.
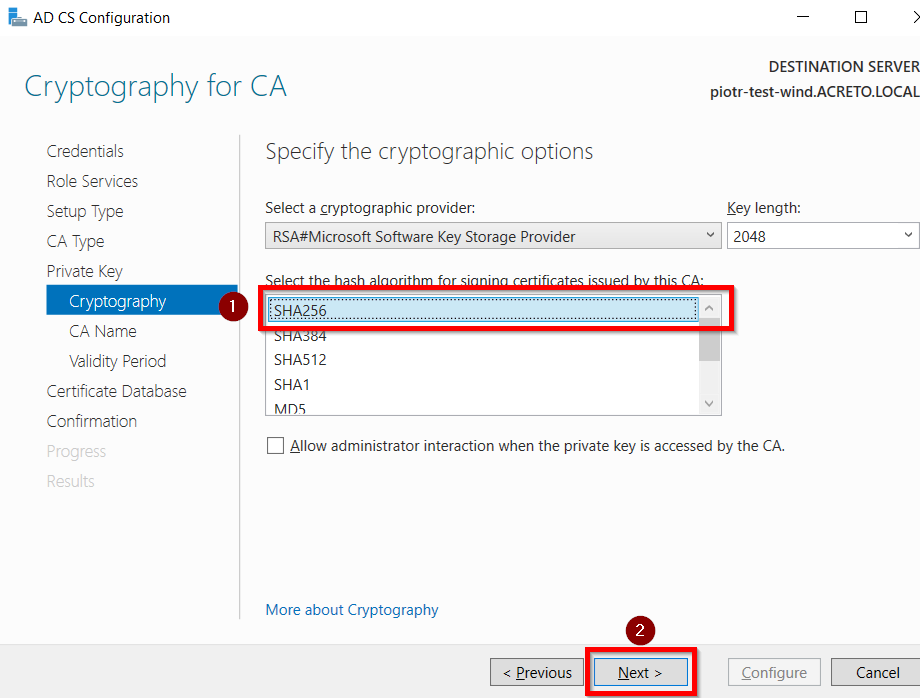
- Choose most recent hasing alhorithm from the list of options. For minimum recommended configuration choose SHA256 as the hash algorithm and Click on Next.
- Click on the Next button.

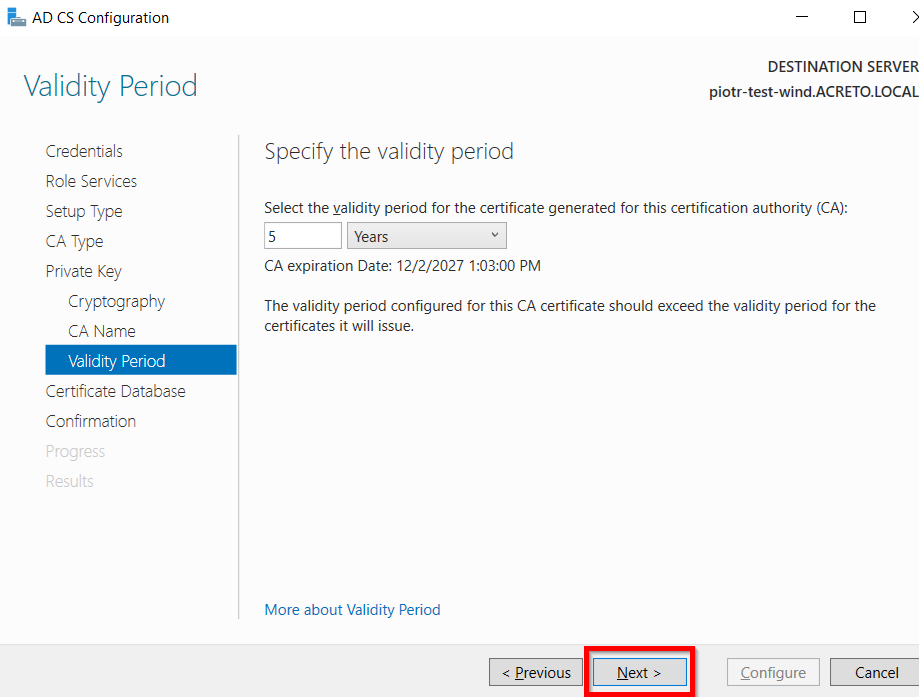
- Specify the validity of the certificate choosing Default 5 years and Click on Next button.
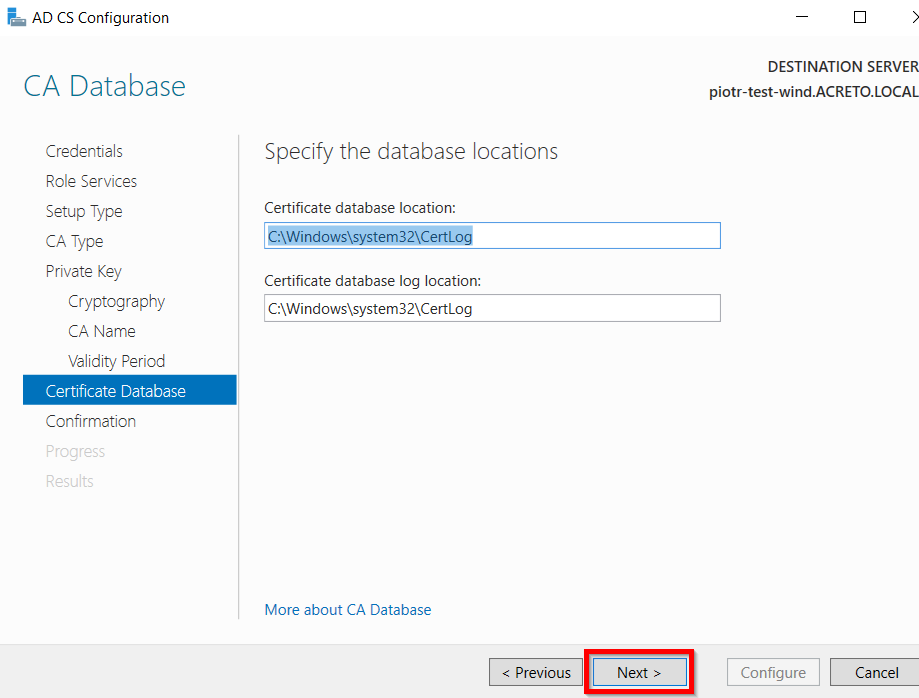
- Select the default database location and Click on Next.
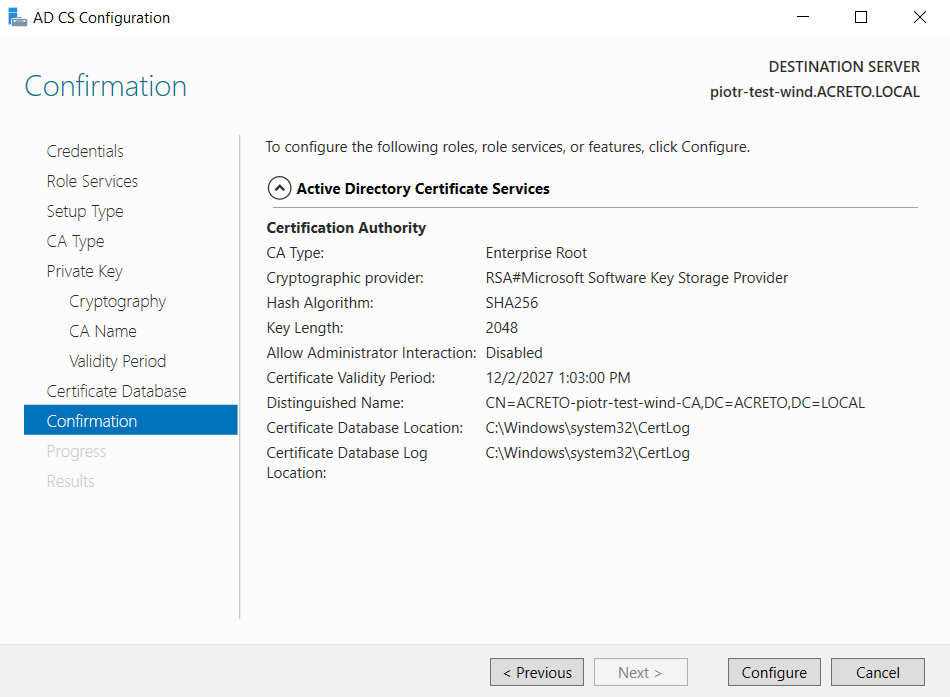
- Click on Configure button to confirm.
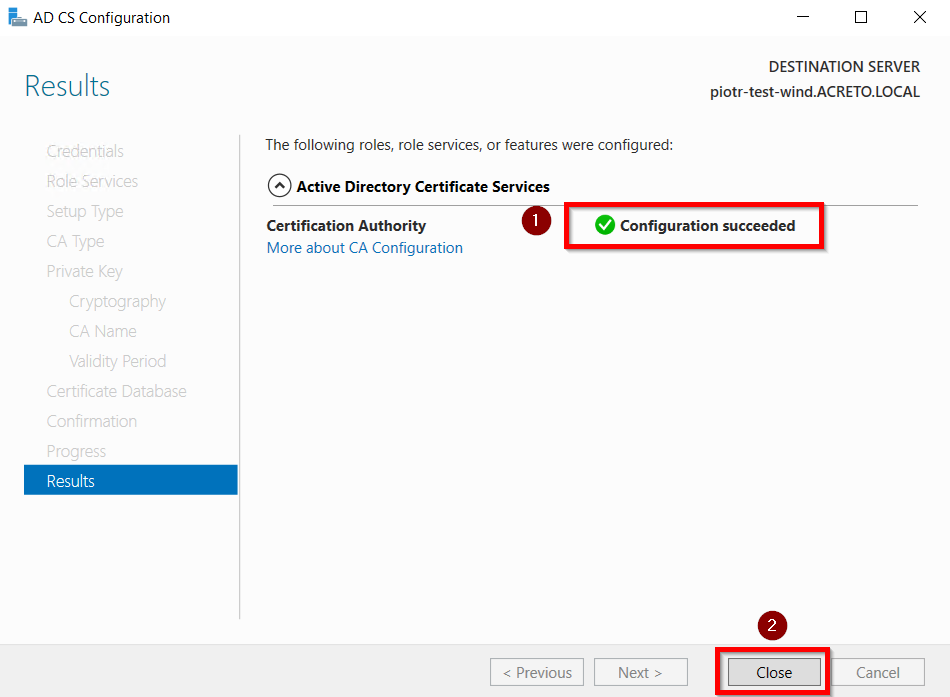
- Once the configuration succeeded and click on Close button.
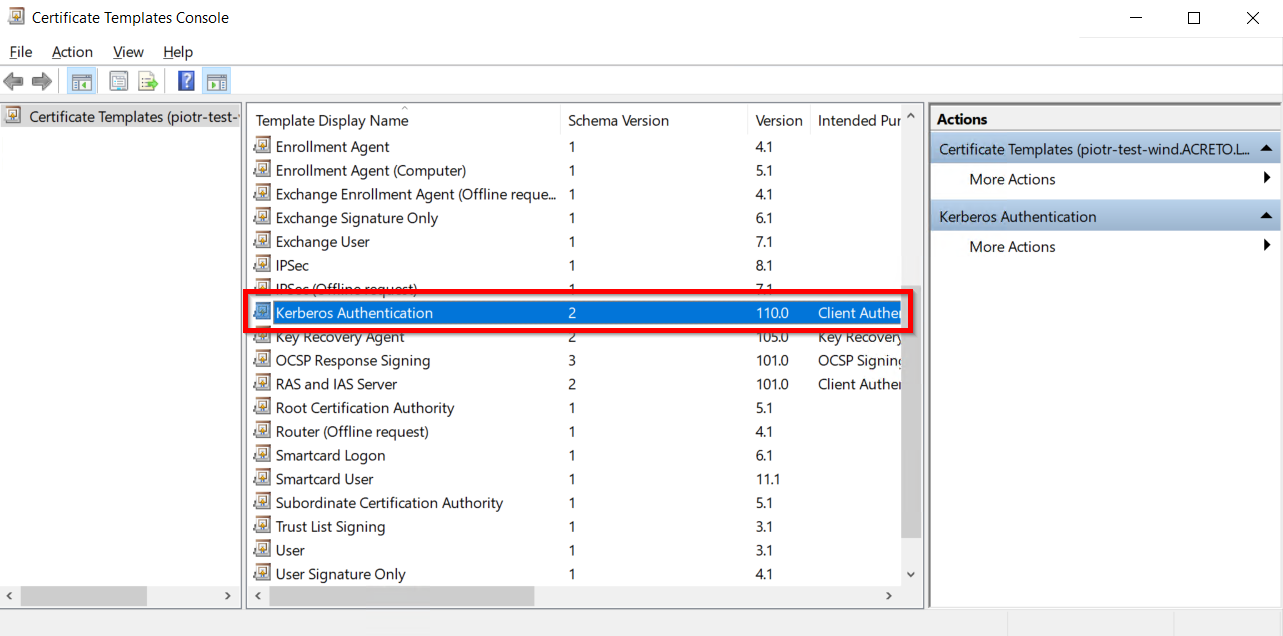
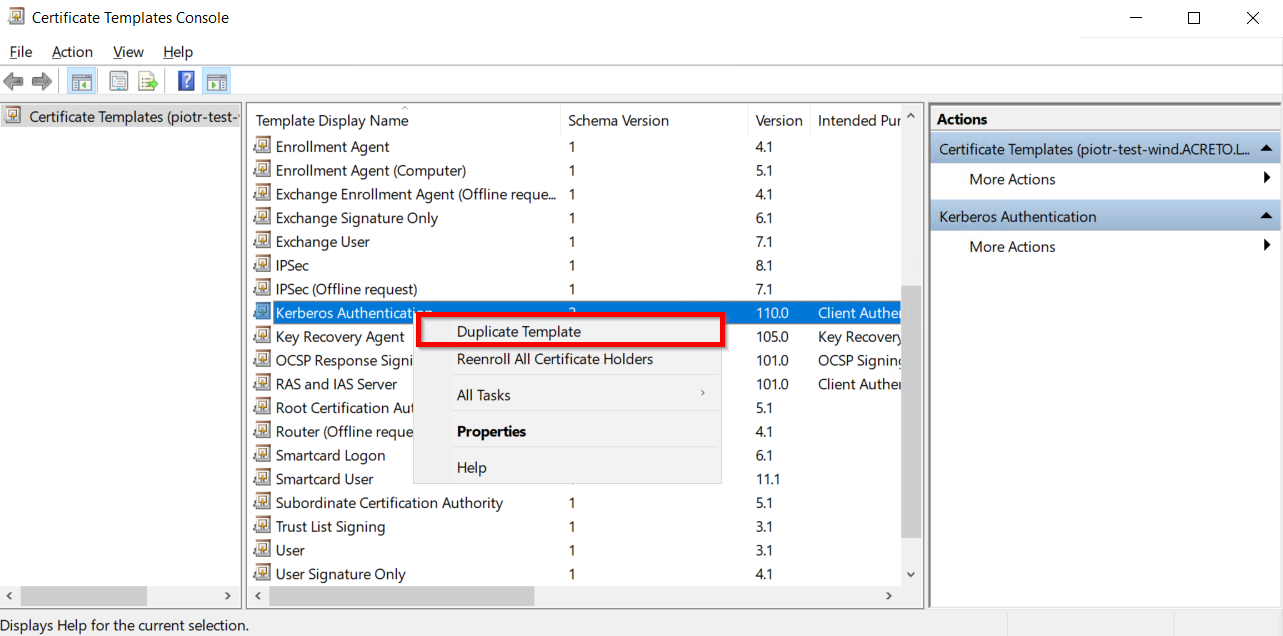
Create a certificate template
- Go to Windows Key+R and run certtmpl.msc command and choose the Kerberos Authentication Template.
- Right-click on Kerberos Authentication and then select Duplicate Template.
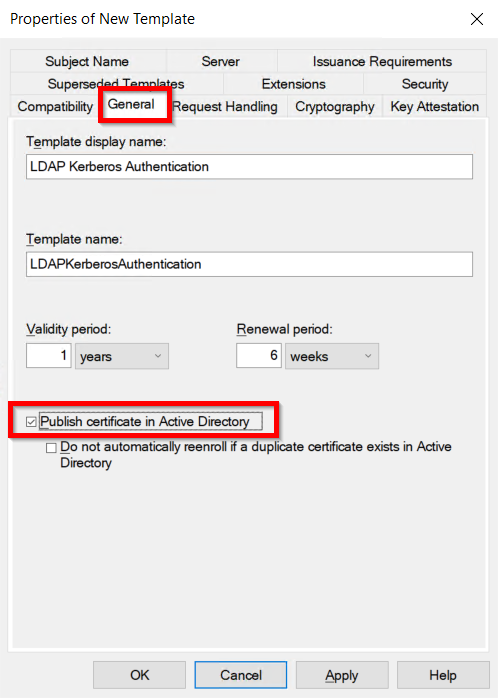
- The Properties of New Template will appear. Configure the setting according to your requirements.
- Go to the General tab and Enable Publish certificate in Active Directory option.
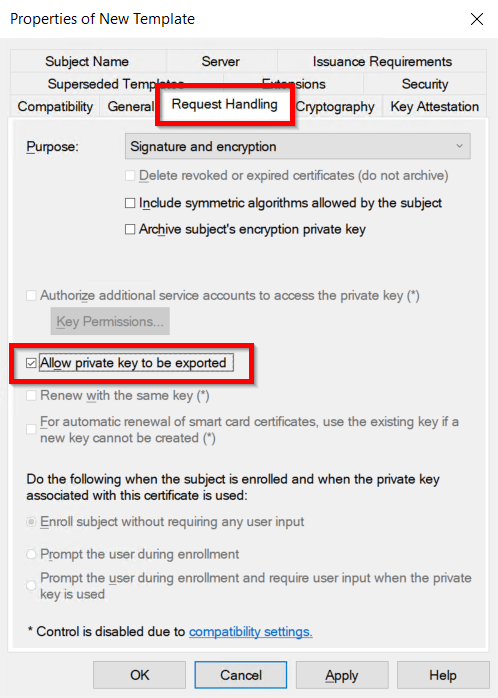
- Go to the Request Handling Tab and Enable Allow private key to be exported option.
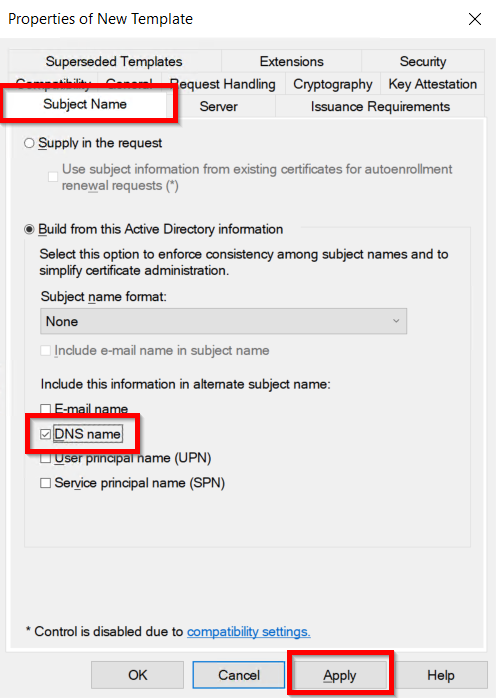
- Go to the Subject Name tab and Enable the subject name format as DNS Name and click on Apply & OK button.
Issue certificate template
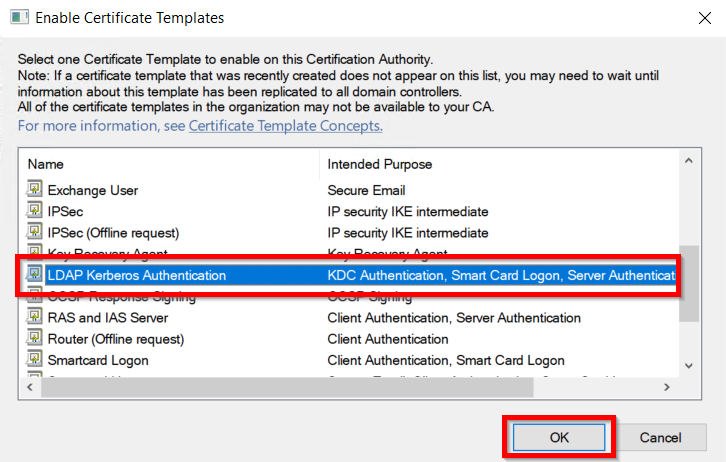
- Go to Start –> Certification Authority –> Right-click on Certificate Templates –> select New –> Certificate Template to Issue.

- Now, select your recently created Certificate Template and click on the OK button.
Request a new certificate for the created certificate template
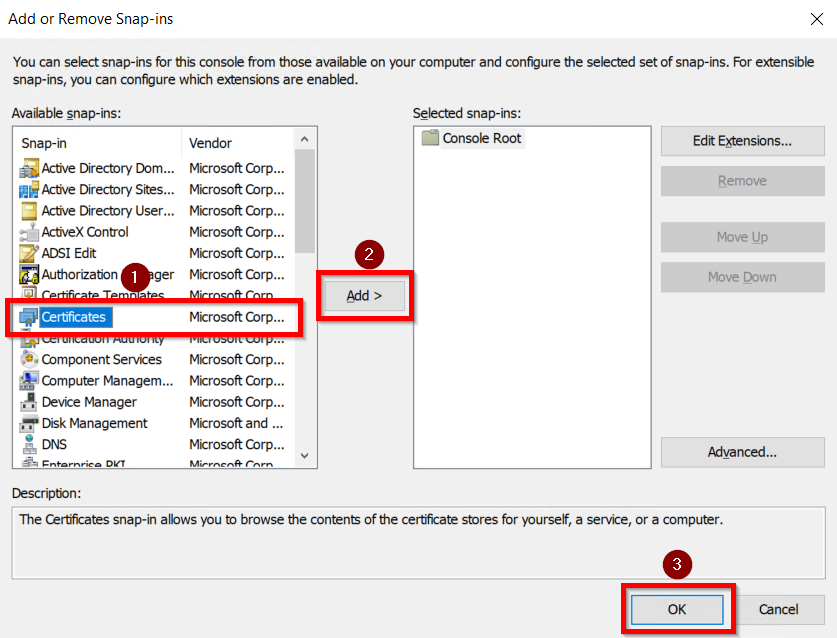
- Go to Windows Key+R –> mmc –> From top menu choose File -> Add/Remove snap-in.
- Select Certificates, click on Add button, and then click on the OK button.
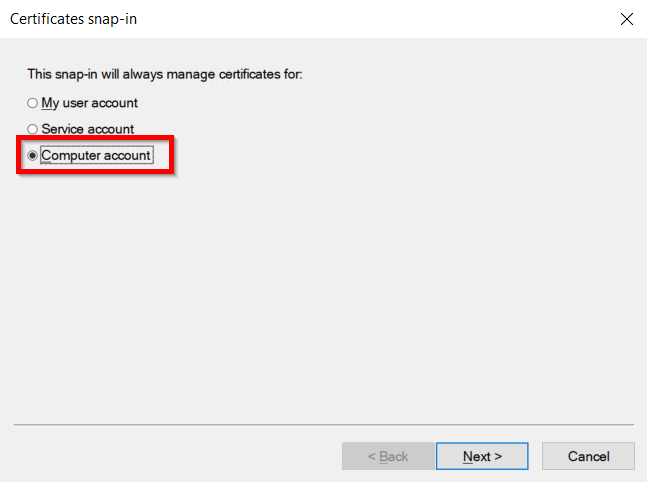
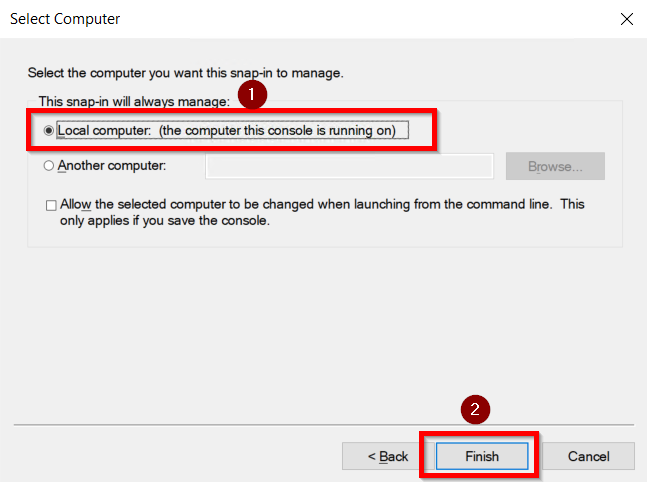
- Select the Computer account option and click on the Next button.
- Select the Local computer option and click on the Finish button.
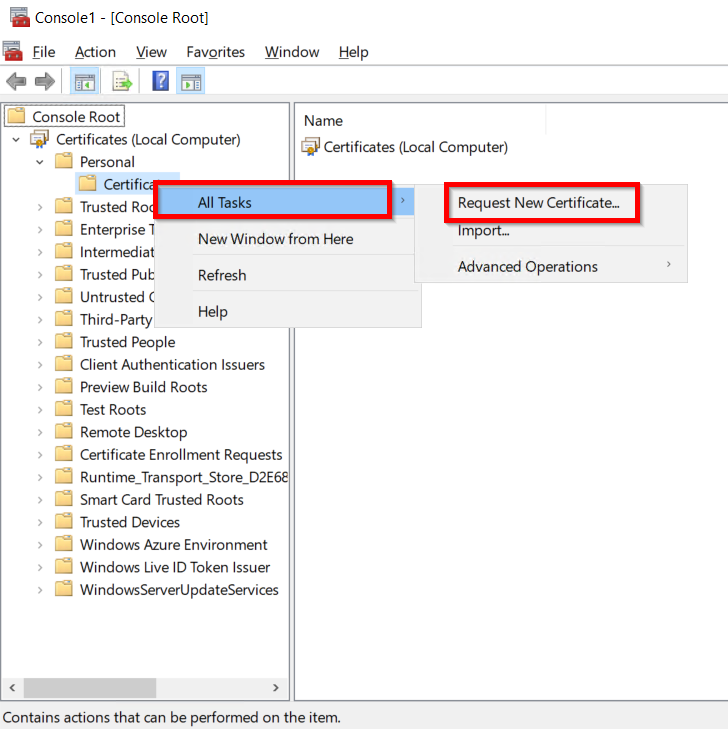
- Now, right click on Certificates select All Tasks and click on Request for new Certificate.
- Click on the Next button.
- Click on the Next button.
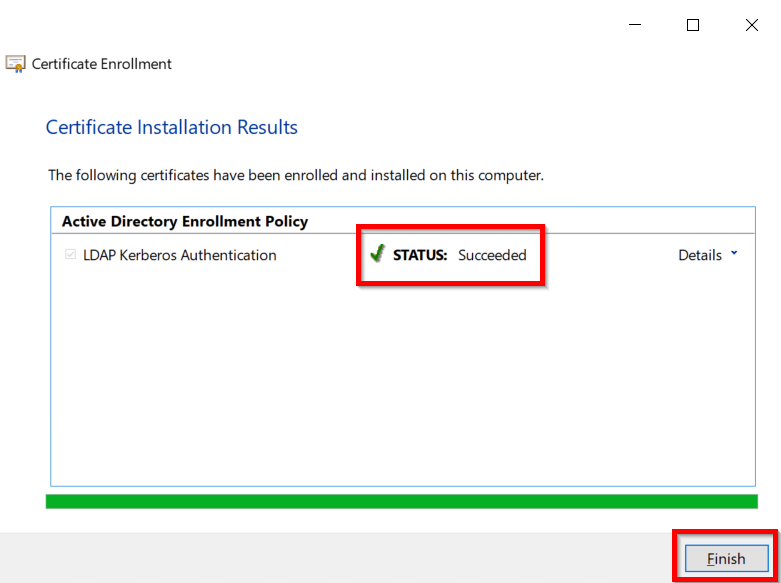
- Select your certificate and click on Enroll button.
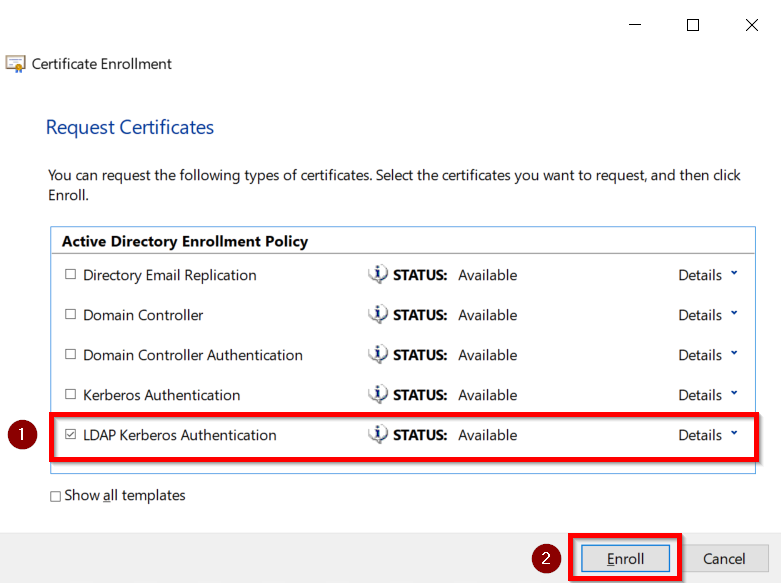
- Click on the Finish button.
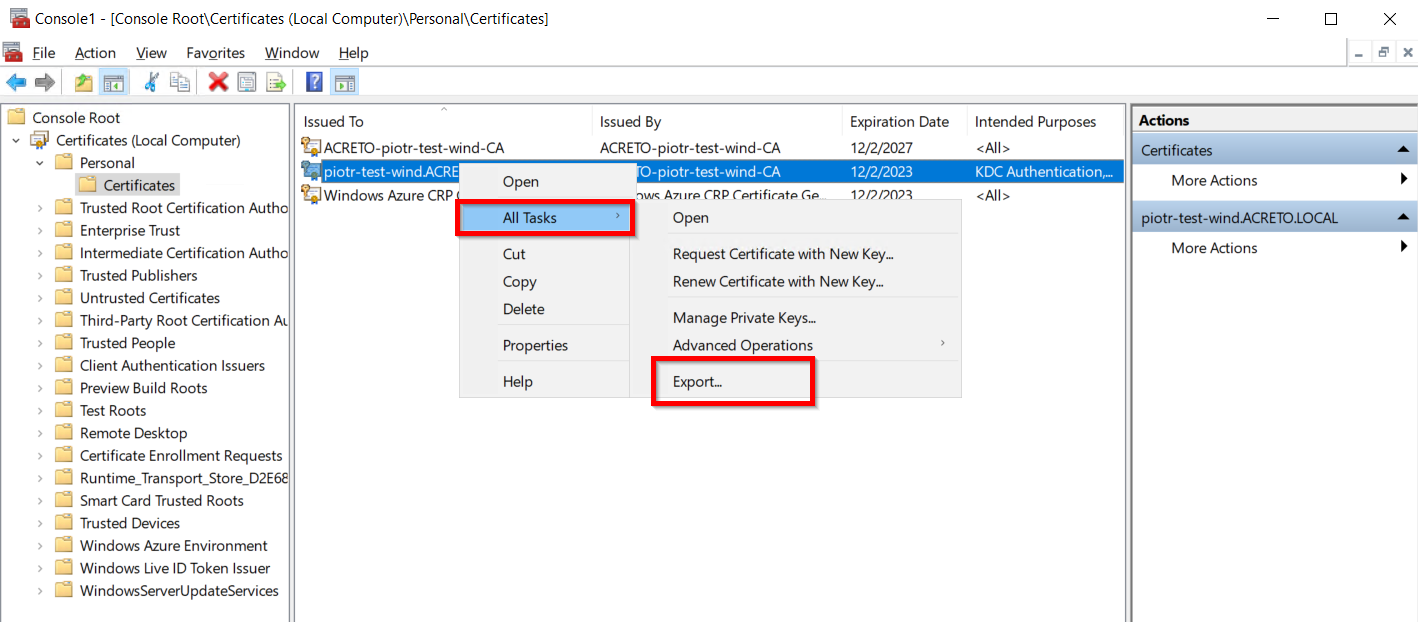
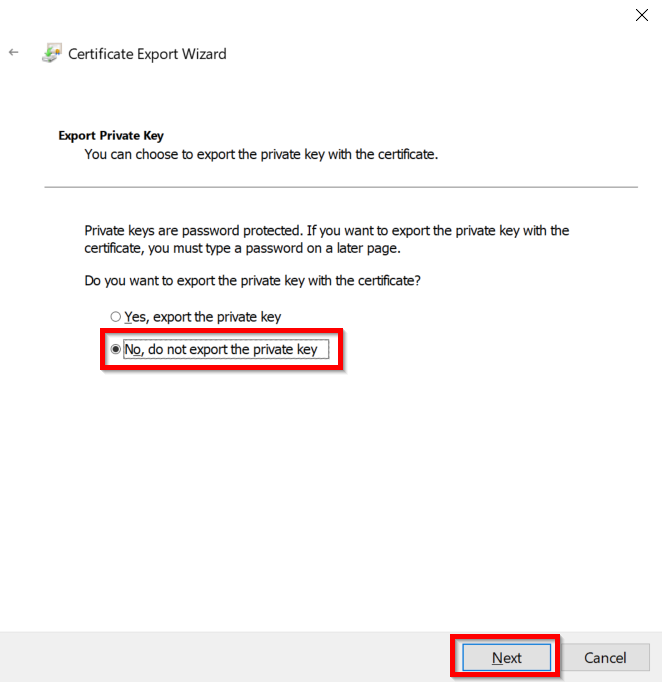
Export the created certificate
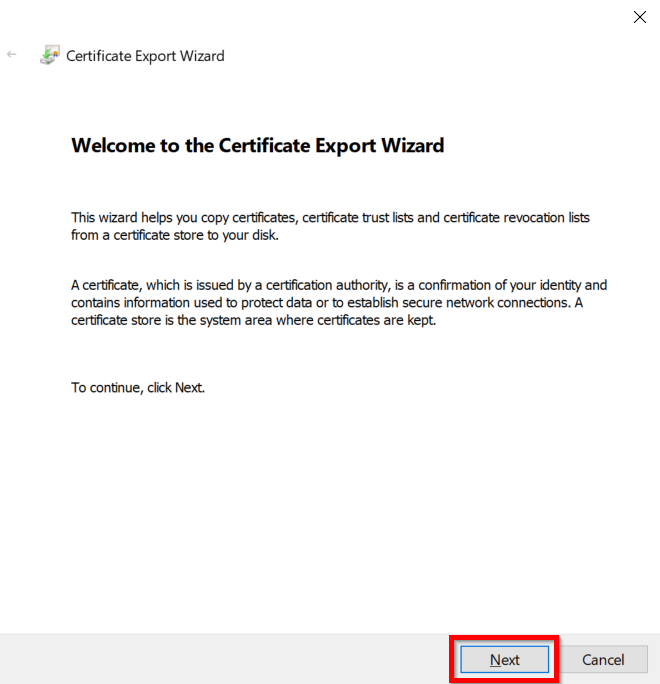
- Right-click on the recently generated certificate and select All tasks –> Export.
- Click on the Next button.
- Select Do not export the private key option and click on the Next button.
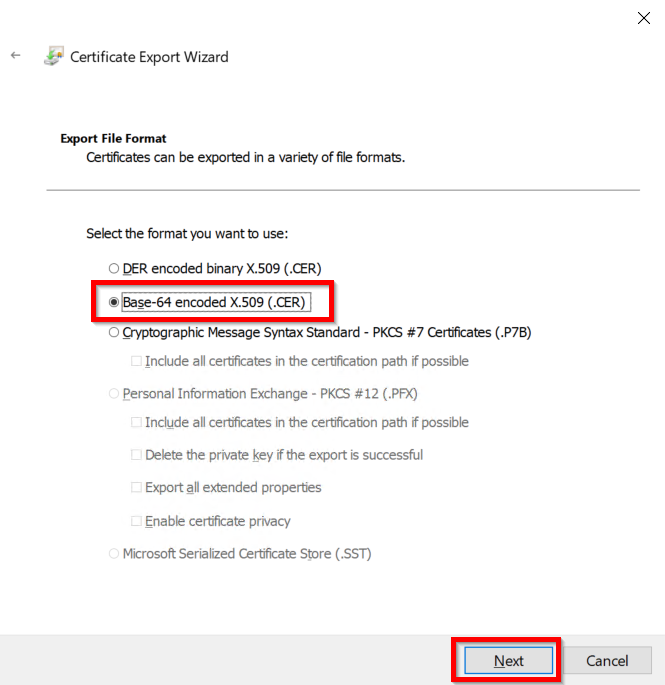
- Choose Base-64 encoded X .509 file format and click on Next.
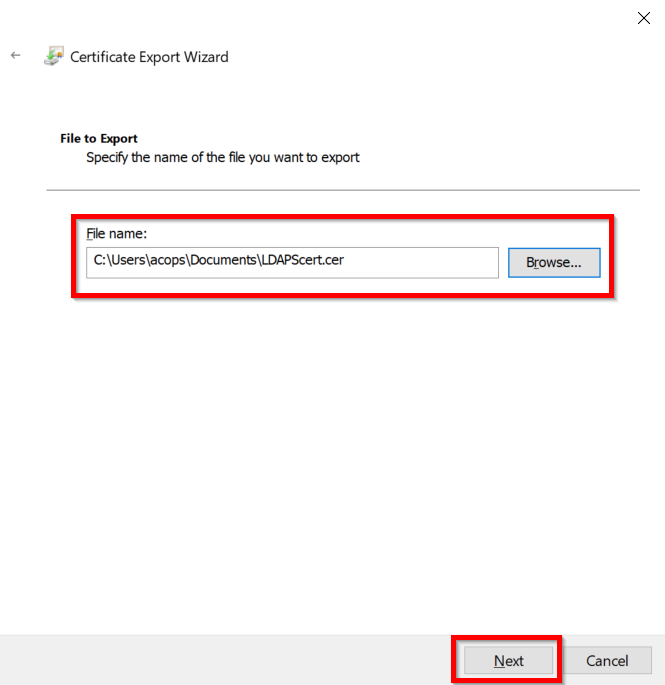
- Export the .CER file to your local system path and click on Next.
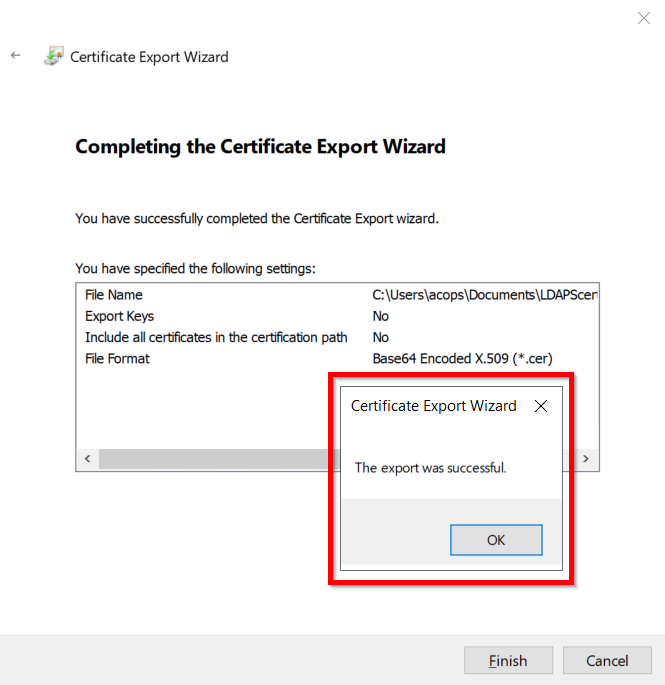
- Click on the Finish button to complete the certificate export.
Configuration of Acreto Ecosystem
-
Login to New or Existing Ecosystem
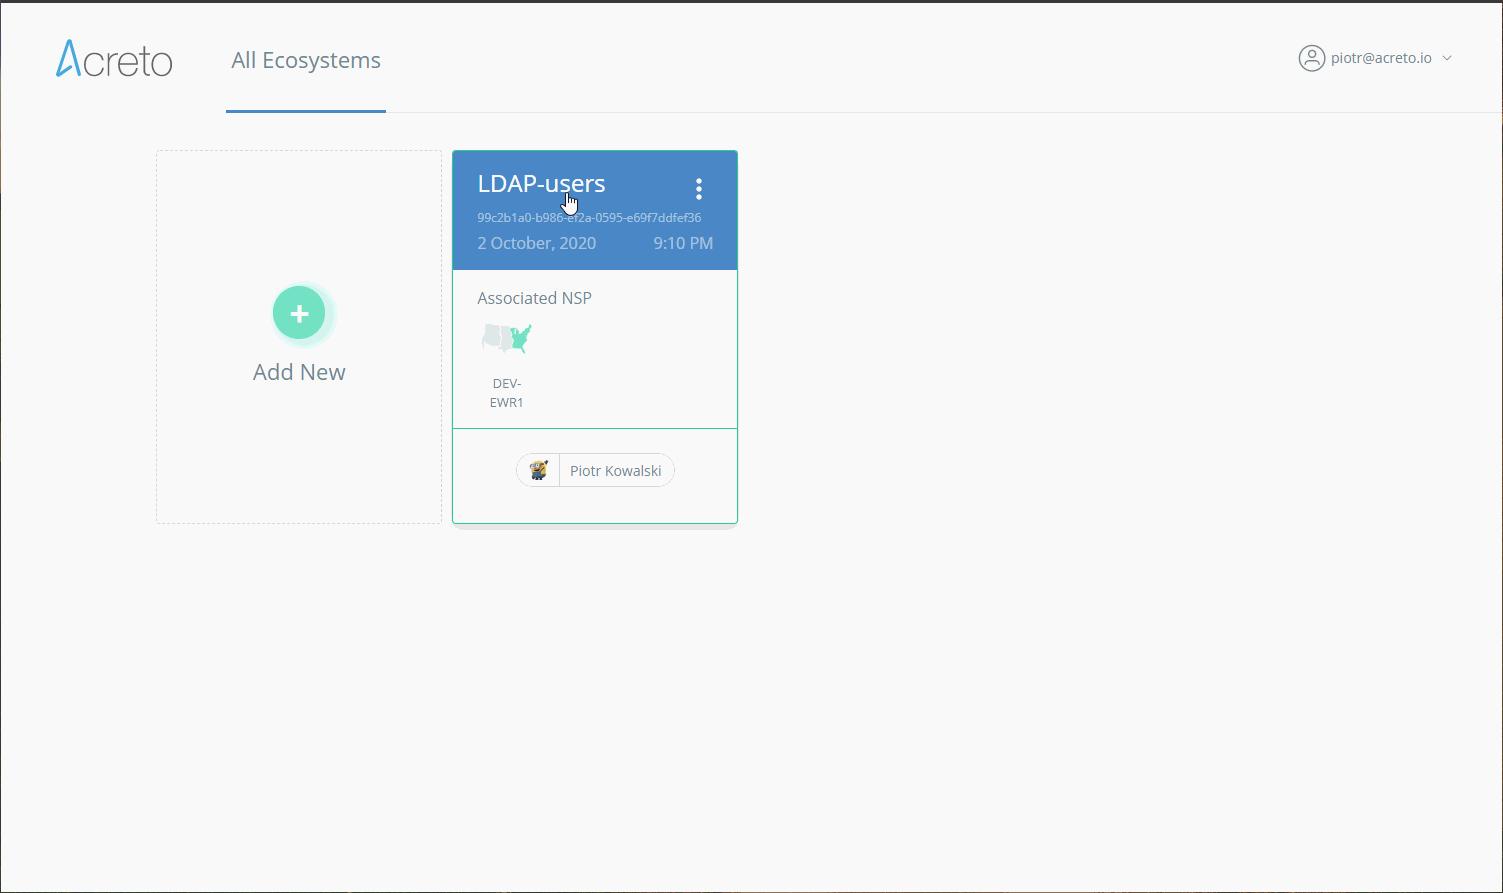
-
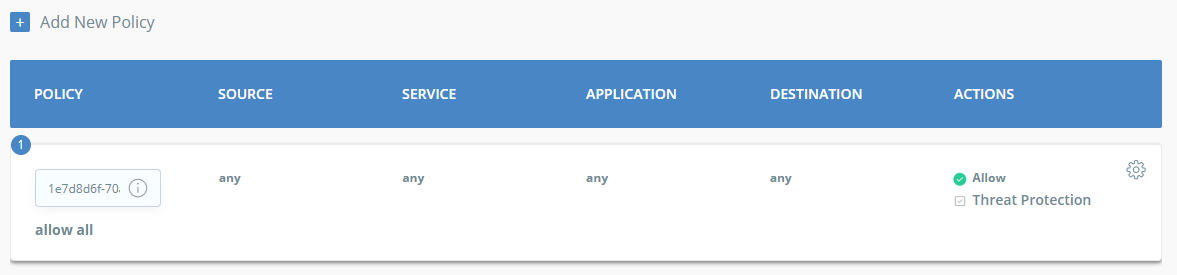
Create Security Policy
Create a Security Policy that allows users connecting through your Identity Provider to reach all destinations.
Warning
In beta mode, all users authenticated using Identity Providers belong to default profile group Profile Group 1. This will change in future versions.
To simplify initial configuration, we will create a policy that allows all traffic to be passed through the Ecosystem.
Info
You should customize the Security Policy to fit your needs once the Identity Provider setup is complete. It should be configured to limit access to network resources for each group (Profile Group).

-
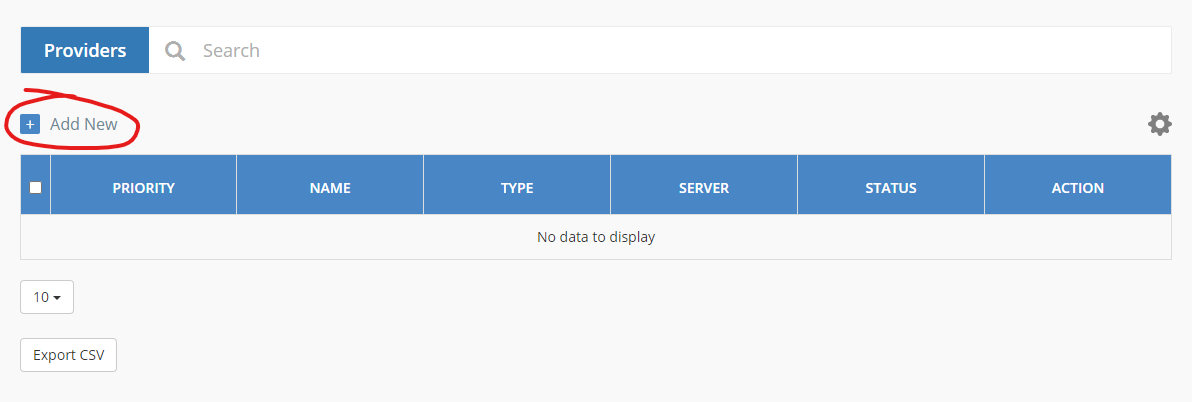
Add New Identity Provider
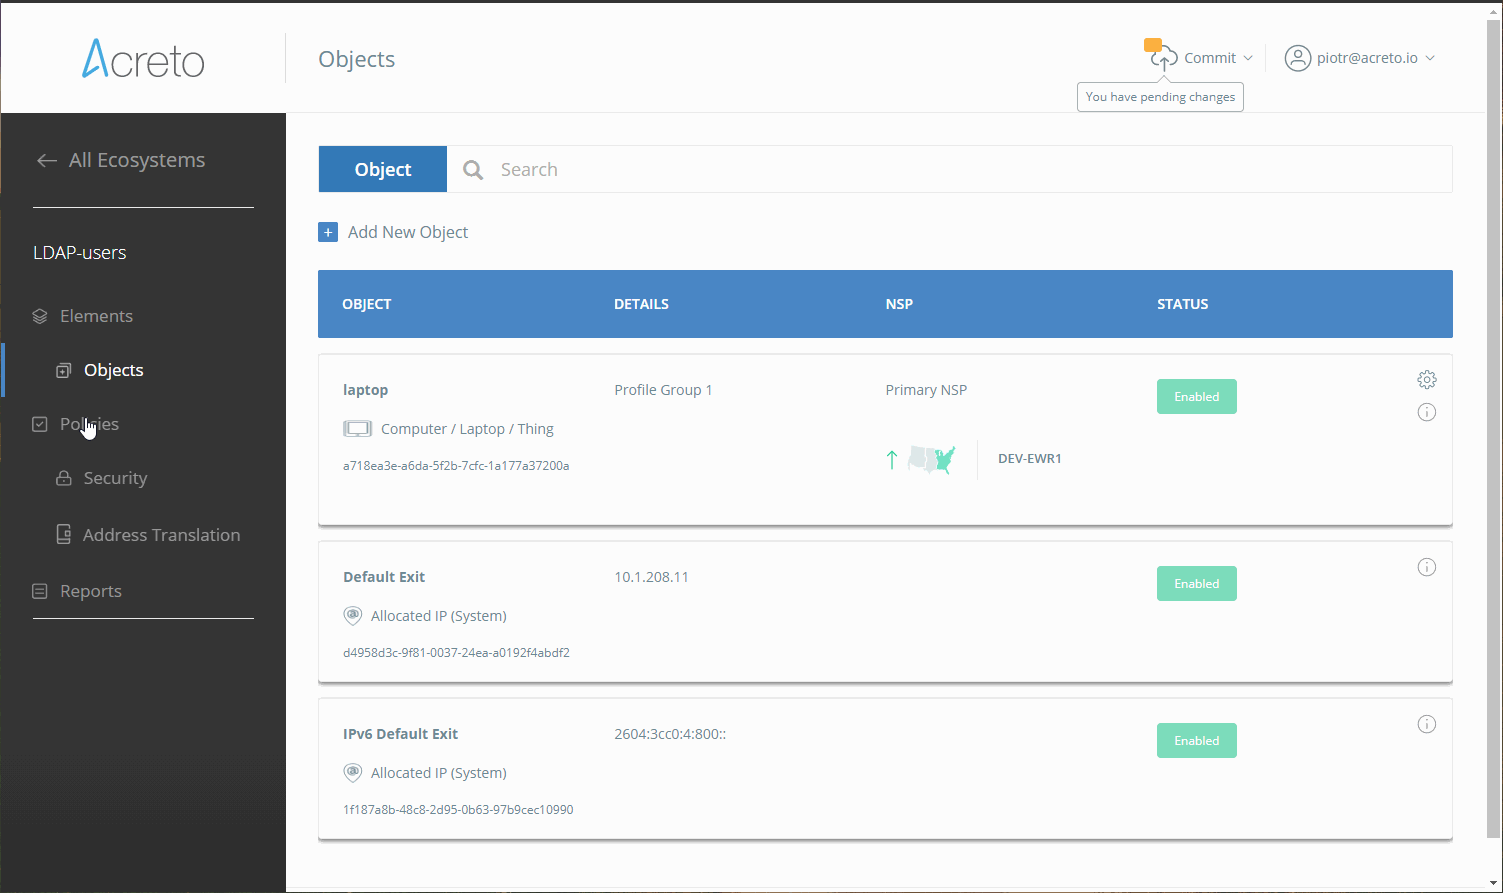
To add a new Identity Provider, select Objects and Identity Providers from the left menu and then click on “Add New”.
-
Fill the settings with connection details
-
Save and commit your changes
Provide Onboarding Portal Link to Your Users
To allow users, employees or team members VPN usersto authenticate in Acreto Connect Client using AD credentials, Acreto offers unique andindividual URLs for every Ecosystem portal called Onboarding Portal.
- To access the unique URL to that portal, please click on Edit next to
previously added IdP and scroll down.

- Then, click on the icon to copy the URL.
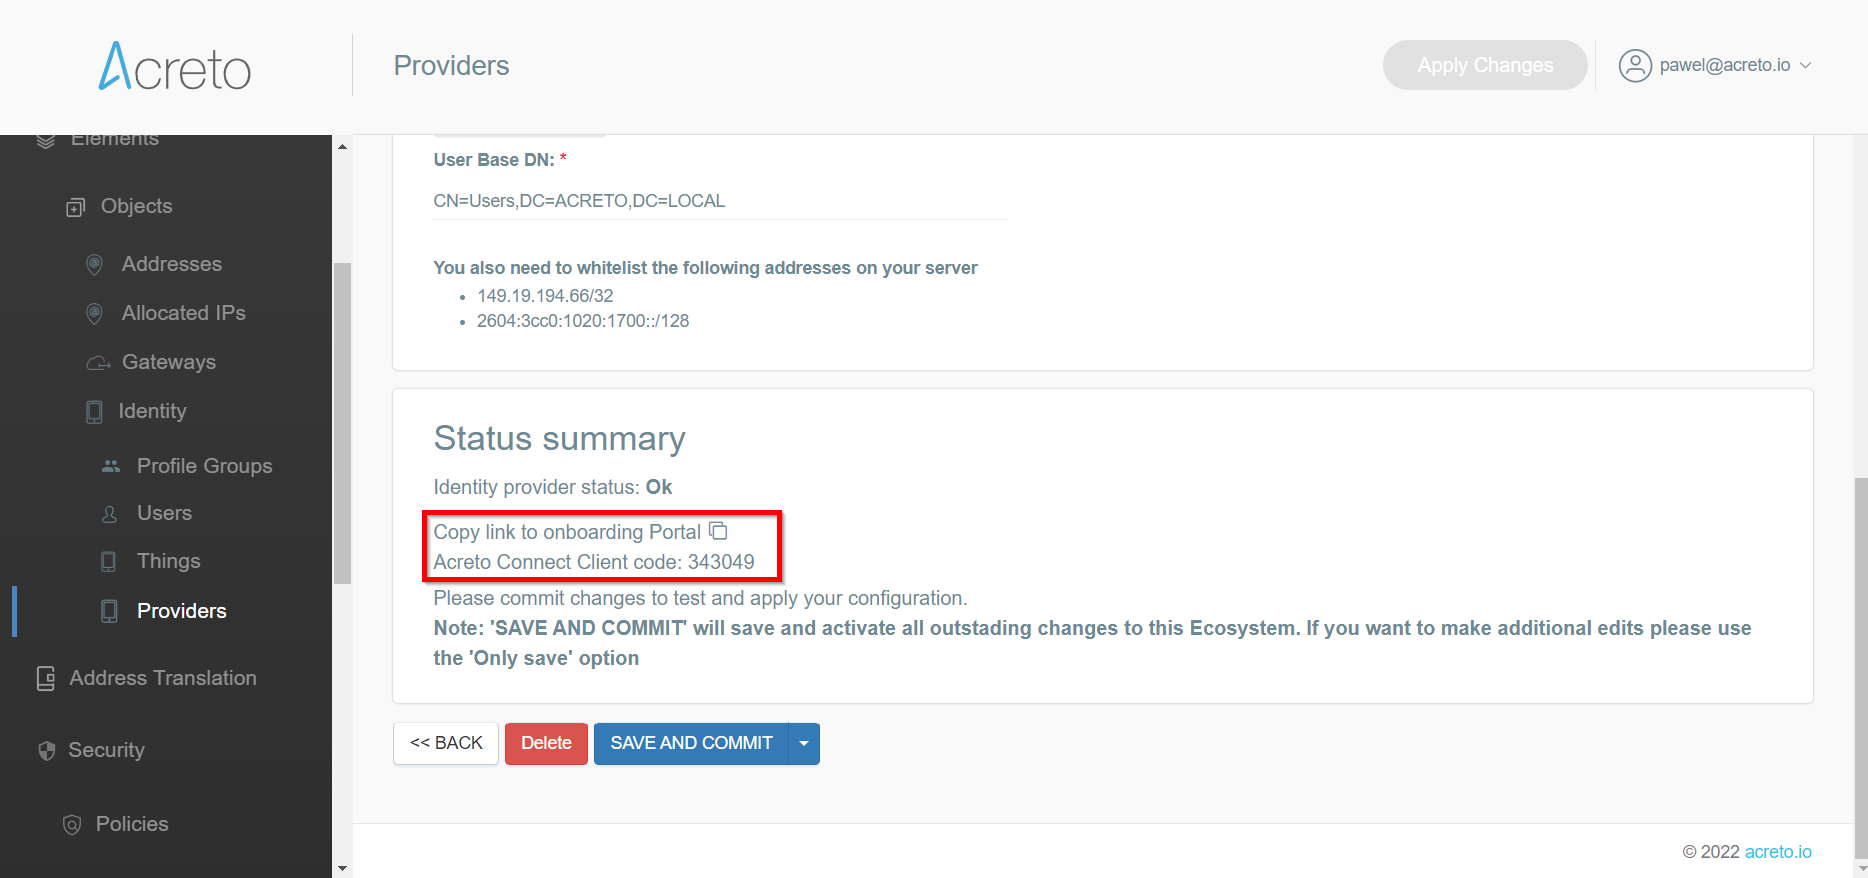
- Now, provide the generated link to your users.
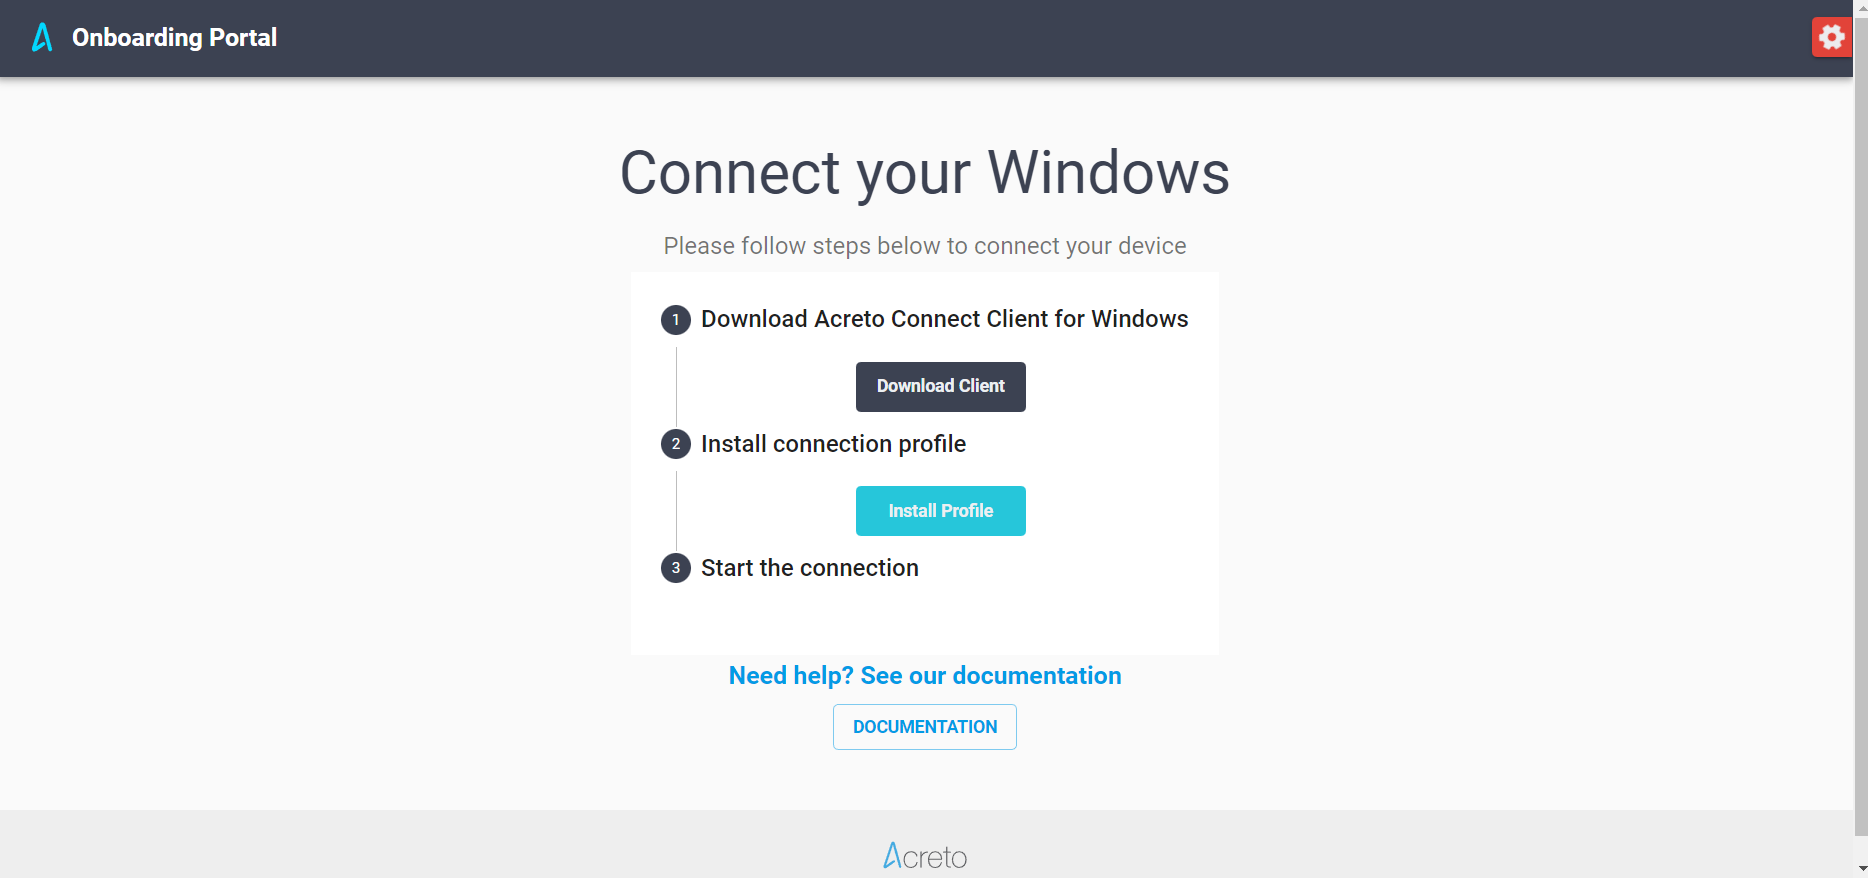
VPN User Experience
When the VPN user opens the Onboarding Portal, the Welcome Page will be presented.
The Ecosystem Admin(s) should share this URL with the VPN Users, ask them to open it and then follow instructions.
The first step of onboarding is to recognize the user’s operating system to provide platform-specified installers and profiles.

The second step allows you to download the latest version of Acreto Connect Client and the VPN profile.
Summary
Thanks to Acreto and Active Directory Identity Provider Integration, users can connect to an Acreto Ecosystem with the same credentials utilized for other internal resources on their network domain.
Also, Acreto Ecosystem Admin(s) can re-use any existing password and security policies that are already in place. For example, the Active Directory may already have account lockout and password expiration policies.